
For “bounty hunters in forests,” August is the month to have a rest in Yokohama and Kanagawa. In Kanagawa’s forests during a final week of August, the autumn begins with chestnut gathering. Until then, collecting natural goodies is generally in a pause for about a month. Before entering the summer recess, there is a task representing the end of spring season. That’s to collect Japanese bayberries. Japanese bayberries, or Yamamomo (Myrica rubra), is medium sized broad-leaved evergreen native in semi-tropical area of East Asia. Kanagawa and Chiba prefectures are almost the northern limit of the range of Myrica rubra. They thrive even in poor soil so that our ancestors planted them along the coast lines or hot and dry mountain ridges. They are dioecious of understating flowers in March-April. Then, for a brief period of late June - early July, established trees bear numerous crimson-red fruits. Although they look like strawberries, it is actually a stone fruit with knobby surface. They taste sweet and sour with lots of carotene and potassium (about ½ of the same weight of bananas). I think in metropolitan Tokyo the fruit is a sort of known only by aficionados.
 |
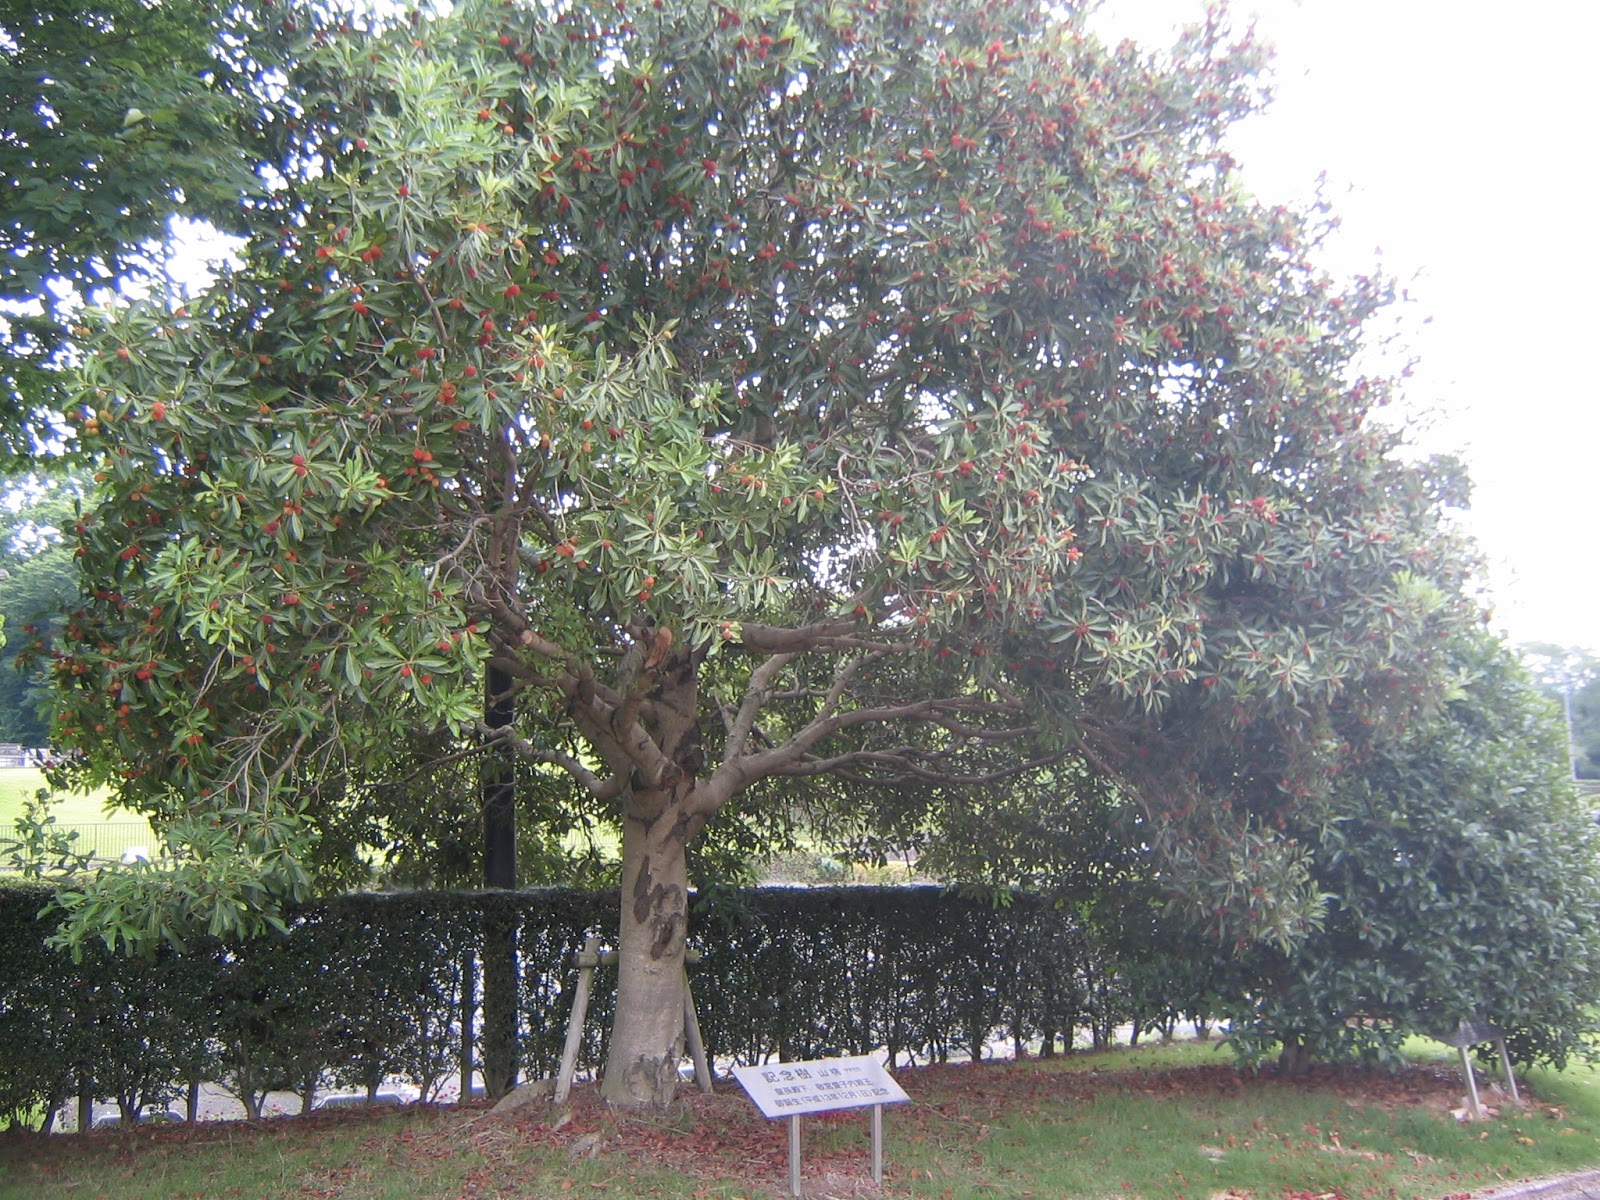
| Myrica rubra |
In southern region of Japan, the tree is more common. Kochi 高知 and Tokushima 徳島 Prefectures in Shikoku Island 四国 designate Yamamomo as their prefectural flower (Kochi) or prefectural tree (Tokushima). Especially in Tokushima Prefecture, in the 17th century Hachisuka samurai clan 蜂須賀家, the lord of Awa (Tokushima) Province 阿波国, ordered their samurai subordinates to plant the tree in their gardens and forests with the purpose of preventing soil erosion, and of substitute foods preparing for famine. As such, Japanese bayberries as fruits are the delicacy from Shikoku Island. But Kanagawa prefectural government also plants the trees in our parks along Shonan Beach. With a reasonable self-restraint, we can collect bayberries from the artificially planted trees in parks. Those who came from Shikoku Island trash the berries in Kanagawa. “Oh, those are shabby produce comparing with the fruits from my home town!” “My family’s Yamamomo is far sweeter.” Er, OK. Though, I think Yamamomo in Kanagawa’s parks are good enough to be tasty jam and other products. This week, I tell you how I prepared this year’s Japanese bayberries collected from a park near Hakone 箱根.
First, harvesting. It’s possible to start collecting pinky fruits when many of them are still green. They can be eaten already at this stage, but the berries are sourer. Naturally, more ripened dark-red version is sweeter. So, unless you aim for tangier jam or liquor, it would be better to wait for few more days. When the fruits are fully matured, they fall off from the tree naturally; for a large tree, the scenery feels like a rain of bayberries. If the ground is soft enough we can collect beautiful berries from the ground. Actually, at this stage I found it tricky to pick fruits from trees as it is easy to squash the flesh of berries with fingers ... Japanese bayberries can be eaten fresh but they have distinctively clinical smells so that they might be in the category of “acquired” taste. The ripening fruits also attract drosophila for blowing. So, it is highly advisable to soak the berries in salted water for at least 3-4 hours before eating or cooking. Drosophila eggs and larvae are not poisonous by themselves, but it’s a matter of … er, human mentality regarding food. Some say 1-2 hours is enough for deworming, but I took safer approach and left the batch overnight. Next morning, I found tiny carcasses of larvae sunk at the bottom of the salty water … macabre peace of my mind … 😅
 |
| Ripening
Japanese bayberries. At this stage even the red ones are still tangy. |
 |
| Please
compare it with the above photo. This is for the fruits ripened. They are falling like raindrops. |
 |
| The harvested fruits are washed under the running water. |
 |
| When
washing, better taking off the stems especially when you plan to make a preserve. |
 |
| Soaking
Japanese bayberries in 3-5% salted water. With this level of concentration, the eggs of drosophila definitely die. Their tiny white larvae come out from the fruit to escape the torture and be killed anyway by dehydration. |
 |
| Dewormed
Japanese bayberries. After overnight soaking, I washed them carefully to remove any carcasses of larvae and dirt. |
Washed and dewormed Japanese bayberries run fast so that we have to process the fruit within 2 days of harvesting. The easiest is to make Bayberry liquor, sour and syrup. They’ll be done within 5 minutes each for preparation. Bayberry syrup is made of rock sugar and berries stored alternately in a distilled jar. It’ll be ready in 2 weeks or so. This year I made bayberry liquor and sour. For bayberry liquor, I put prepared bayberries and rock sugar alternately in a clean glass jar, then poured white liqueur. The most gorgeous alcohol to be used in this way in Japan is Okinawan distilled spirits, called Awamori 泡盛 … but they are not cheap in Yokohama. So, I use regular distilled alcohol of at least 35% alcohol percentage. For bayberry sour, distilled alcohol is replaced by white vinegar. After placing the prepared jars in cool and dark place, we wait … Bayberry sour will be ready within 3-4 days, but the taste matures if we can leave it for at least a month. For bayberry liquor, we should wait for at least a month, and leaving it more can make the taste mellower.
 |
| Bayberry
liqueur after 2 weeks of preparation. The smaller jar has 1 portion (g) bayberry, 1 portion (g) of rock sugar and 1.5 portions (ml) of distilled alcohol. The bigger jar is 2 portion of bayberry, 1 portion of rock sugar, and 3.6 portion of distilled alcohol. I plan to open them in late September. |
 |
| Bayberry
sour after 2 weeks of preparation. It has 1 portion of bayberry, 1 portion of rock sugar, and 1 portion of rice vinegar. Some say apple cider vinegar adds flavor, but I decided to use rice vinegar in order for the taste of bayberry to stand out. They’ll be opened at the same time for bayberry liqueur. |
I also
made bayberry jam. This process is more time consuming.
- Put the prepared bayberries in non-reactive pan and pour in just enough water to cover the fruits.
- Bring to boil the pan with medium heat and cook until the fruit is soft enough to be crushed.
- Strain the cooked bayberries to remove the stones. If you puree the bayberries finer, the end product is more “preserve” without much trace of fruit flesh. If you prefer rustic jam, just removing the stones would be enough.
- Measure the weight of strained bayberries. Return the pureed bayberries into the non-reactive pan and add sugar of 30-50% weight of berries. Bring to boil, and keep stirring to dissolve the sugar and to reduce the puree to the consistency of your choice. During this stage, maintain the heat at the highest point just preventing the contents to be burned. Don’t employ low heat and cooking for a prolonged time. The quicker your job, the brighter the color of the jam at the end will be. Also, the puree becomes sticky rapidly so that the more you cook, the more the consistency of the preserve is. It’s up to you when to stop cooking. Some recommend adding lemon juice with sugar, but I found my bayberries are acidic enough to coagulate rapidly without any help.
 |
| Cooking bayberries |
 |
| Removing
the stones from cooked bayberries. The size of a bayberry stone is similar to an American cherry. |
 |
| Reducing
the mixture of 2 parts bayberry puree and 1 part sugar. We have to stir constantly. |
 |
| My bayberry jam |
 |
| Another
bayberry jam of mine. For this one, I strained the cooked bayberries more. It has become more jelly like. |
The taste of my bayberry jam is tangier than store-bought strawberry jam. I added sugar in 50% weight of bayberry puree so that mine would be sweeter than that of 30%. Even though I notice strawberry jam marketed by Imperial Hotel is far sweeter … No wonder people say home-made jam is healthier. Now I am waiting for my bayberry liqueur and sour to mature. They’ll be on time to accompany with the autumnal harvest. 😋
Thanks for the recipes. I'll soak my fruit tonight and give it a shot over the weekend.
ReplyDelete